Followers

Showing posts with label Shaving Foam(Cream). Show all posts

Friday, 15 April 2016

D is for Dots

Hello again, today is the start of a new challenge at 
Alphabet Challenges 
and we have reached the letter D - the challenge is
DOTS.......................................
Please pop over to the blog to check out the DT Gallery of inspiration.
For my card, I used the Bold Bloom - Ruby stamp from Woodware.
I fussy cut it, then filled it in with DOTS - for those who don't know
this is called POINTILLISM. 
I already had a batch of prepared backgrounds from one of my
greatly enjoyable messy days playing with inks. The background
above was created with shaving foam and ink sprays.
The greeting stamp is from Honey Doo stamps. 
A few black gems added. 
So, why don't you pop to the blog and accept the challenge?

Saturday, 30 May 2015

Midweek Motivation


At Fantasty Stampers we are midway through our current challenge..

WINGS AND THINGS

Its amazing how many actual ways you can create wings.
Why not pop over to the blog to see the wonderful creations from the Design Team.

Materials Used
Plain white cardstock - made a 6" card
White card - dipped into shaving foam (cream) with inks.
( I love this technique, I usually have a super messy session to create
a pile of amazing designs. If your not sure, but interested check it out on You Tube.)
Stamp - Botantical Bee from The Stampman
Black Permanent Marker to give edge to the card. 
Greeting from Kaisercraft set.
*************
Have fun everyone, all we ask is stick to the theme, use an actual 
stamp - NO DIGIS. Thank you.


Saturday, 23 May 2015

Wings and Things


For the next two weeks at Fantasy Stampers the challenge is 

Wings and Things
(Must use a stamp with ink - NO DIGIS )

This theme gives such a wide choice, when I started a list in my mind, I was 
amazed at how many choices were out there with wings.
Please pop over to the blog to see the wonderful variations of the theme from
the Design Team for inspiration. 

Materials Used
6 " card made with white cardstock
Covered with a sheet of copy paper which I had painted with 
Moon Glow Starburst Mica Paints
A piece of white card, blended with Distress Inks - 
Cracked Pistachio - Fossilized Amber - Mermaid Lagoon
3 of the new Tim Holtz colours for 2015.
Bleached by sprinkling water over the card, patting dry then sponging 
over again with the same colours. 
Stamp - Dragonfly Botanical from The Stampman
stamped with Black Soot DI - clear embossed. 
Draogonfly wings stamped again on a piece of the background
paper, then decoupaged wings onto the dragonfly. 
*******************
 Adding the Dragonfly Botanical to the challenge Wings and Things over

Tuesday, 9 September 2014

Clean and Simple at Cardz 4 Guyz

This week at Cardz 4 Guyz, Julie of the Design Team has chosen Clean and Simple for our weekly challenge. CAS has not been my style.  I like making a mess, with lots of ink and techniques, even lately my embellishments have been growing in numbers. However, lately, I have got to be honest, the CAS style is starting to appeal to me. LOL Talking about making a mess, some months ago I had a wonderful fun session with a can of shaving foam, some inks and some card. I still have all of the amazing sheets of swirled patterns in a box, this card has evolved using a piece of one of the cards. I used a black Memento pad to stamp onto the shaving foam created card. I stamped a few of the Inchies Bird stamps from Inkadinkado. 
The greeting is from my stash - I believe from Crafty Companions.  Please pop over to the blog to check out the amazing projects by the DT. We still have a DT CALL, you don't need any DT experience, you need a blog and to be interested and able to make male cards.  Simple as that. 

Saturday, 31 May 2014

No Designer Paper

Here we are another week on at My Time To Craft , our challenge this week is No Designer Paper. So get out those, embossing folders, or chalks, or inks, stamps may be useful here. Go create without those pretty or grungy papers, make your own. I started by digging out  my box of my own designed background papers. I have a mixture of spritzed, sprayed, inked, painted and a bunch, the result of an hour or so playing with the Shaving foam (cream) technique, of which this is one. 
Materials I have used;-
Kraft card purchased , black and soft beige card.
Large dots Embossilicious Embossing Folder
Piece of card - Shaving Foam Technique 
Woodware stamp - Grasses  Promarkers to add small amounts of colour 
Quickie Glue Pen. Glamour Dust Chrystal , Shades of Gold glitter and Dovecraft Glitter Glue
Pretty ribbon from my stash. 
Have fun in your creating , looking forward to popping in to see your creations.
Entered into the following challenges;-
Blogger's Challenges Make your own Background - Shaving Foam technique
Wags nWhiskers Rubber Stamps Challenge -# 130  Colour - Yellow, Orange, White and Kraft

Saturday, 5 April 2014

Wildlife at MTTC

Hello everyone, so nice of you to pop in and visit me. The challenge this week at My Time To Craft,  is Wildlife,  now we are expecting to see real wild life, as in jungles, safaris, mountains, we are so looking forward to seeing monkeys, lions, giraffes, tigers,anything you wish from the real wild world of animals. Good luck and have lots of fun. 
For my card I used
Scalloped edged white card stock
Dark Brown Card stock
Brown mesh
The background paper is one of many I made in my last Shaving Foam technique session.
Stamp - Leopard - La Blanche silicone stamps
Coloured with Promarkers.
Have fun and go WILD. 

Wednesday, 22 May 2013

Inspirational Card for MMM - Green and Yellow


The piece of card immediately above is a sheet which I coloured using the Shaving Foam (Cream) technique. The stamped images on the right are from an Inkadinkado set of Inchie bird stamps. Those on the left are the ones I used on last week's  Make My Monday design card. As a crafter I don't like to waste anything, especially if I have toiled over it. I decided to use the right side to make some 4 inch square cards, with a twinchie (2 inch square) stamp and inchies (1 inch square) stamps. I may end up making a box too, to hold a number of cards and envelopes, to give as a present. Again, watch this space................

Monday, 20 May 2013

Colour challenge at MMM

Hello to all of my visitors, once again it is my time to choose the topic for Make My Monday, I am still going for a Colour challenge, this week it is Green and Yellow. These two colours so much represent spring for me, this past week or so it has actually felt like spring in the North East of England. 


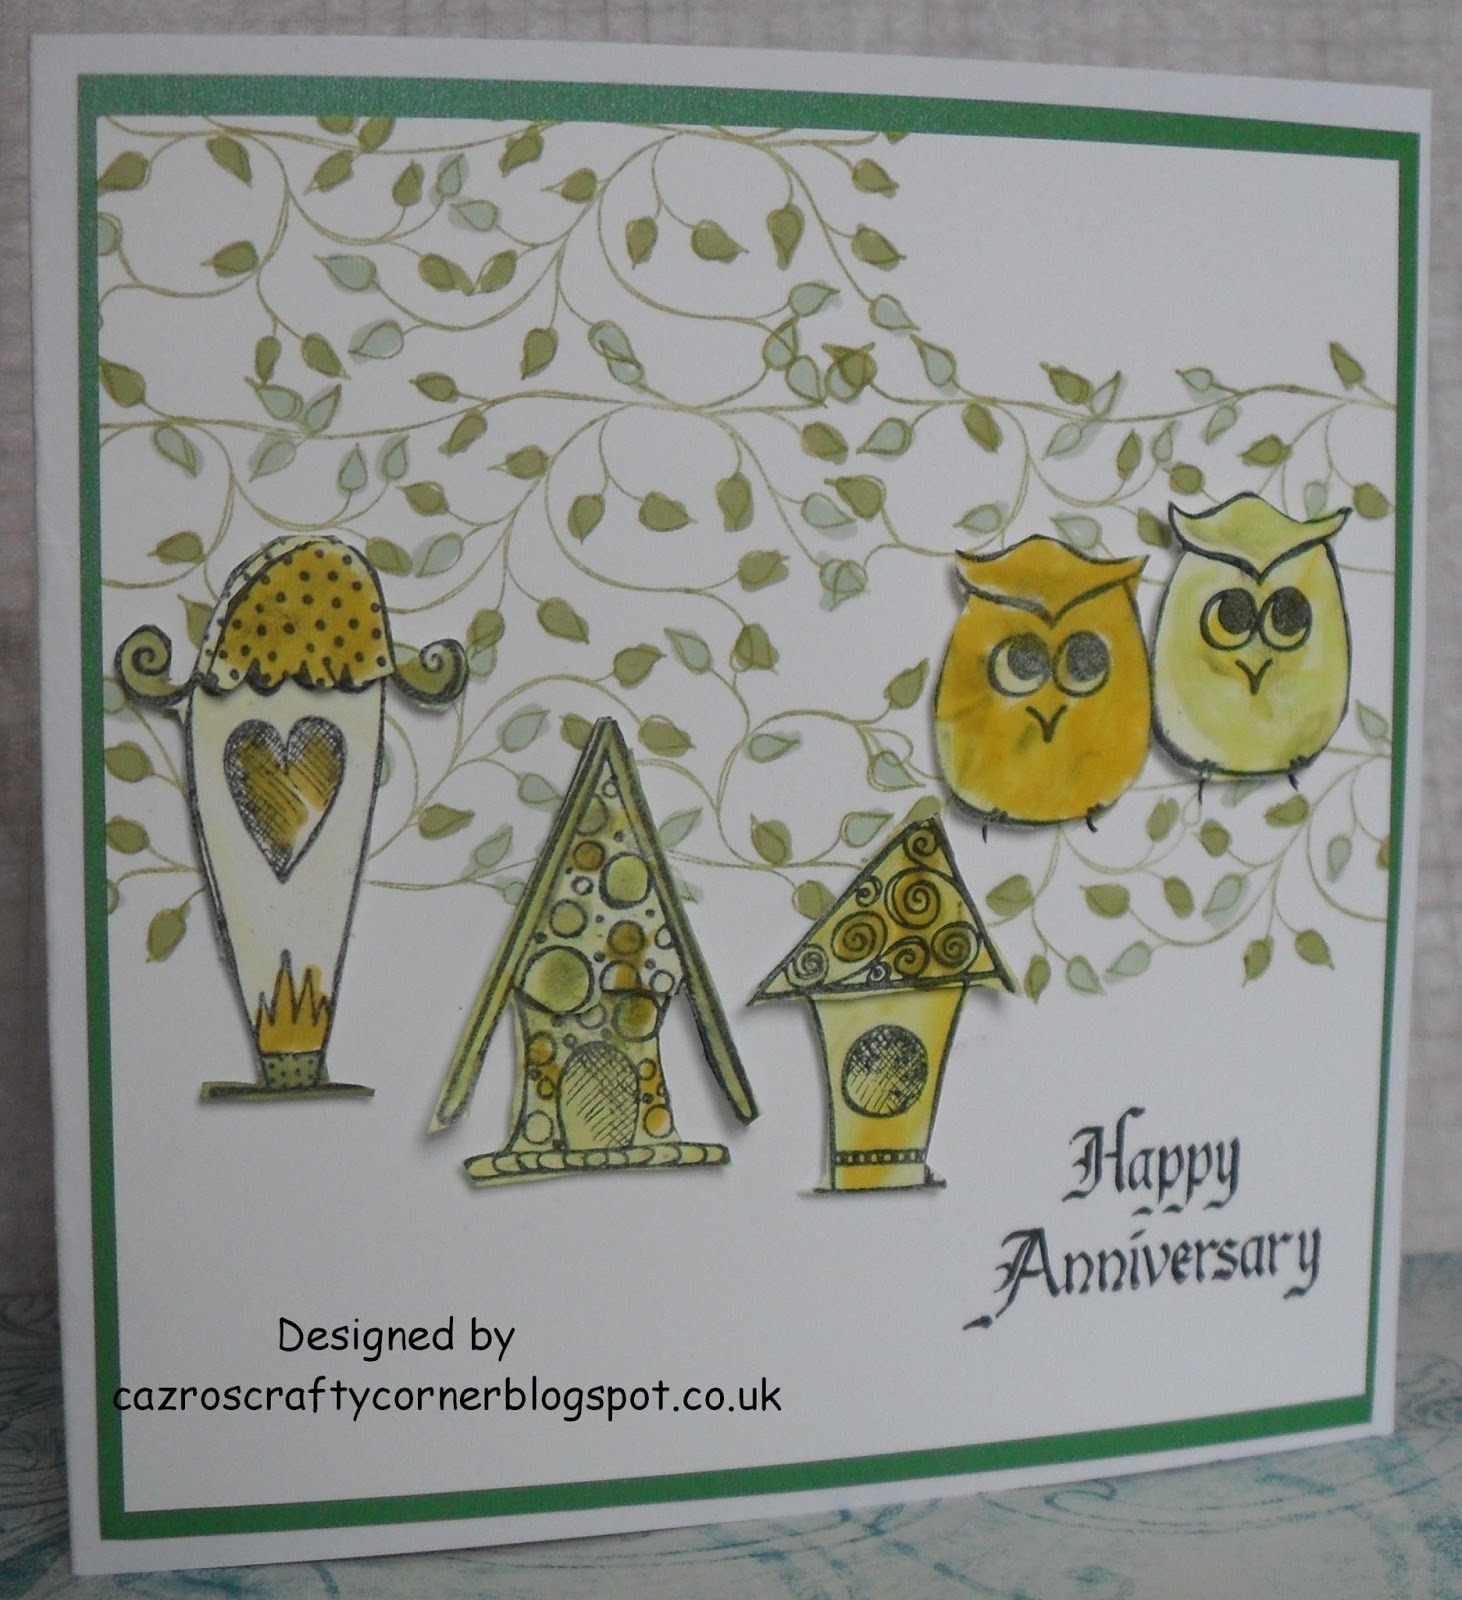
I first decided to stamp onto a previously prepared backing sheet from the day I spent a while playing with Shaving Foam (Cream), making lots of colourful sheets of paper. More details can be found on You Tube, go on give it a try, it's great fun. I used stamps from a Paperartsy set - Flora and Fauna Set 3. Once cut out , some needed a little extra colour of Promarkers, green and yellow of course. I stamped directly onto the white card using the leaves stamp and DI Peeled Paint, which was coloured in with two shades of green. 
All pieces attached to the page, with a happy Anniversary greeting completed the card. Being a crafter, I don't like to waste even small pieces of card, especially if I have made them, so why don't you pop back on Wednesday for my Inspirational Card to see how I got the most from  the remains of one A5 piece of card. 

Monday, 6 May 2013

Anything That Flies

Hello again, this week at Make My Monday Suzi B has chosen for our theme 'Anything That Flies'. Now I just love this kind of challenge, for there are so many topics to choose, I have recently bought this lovely stamp of owls from Little Claire. The background, if you have visited me in the past will recognise this as being one of my many shaving foam (cream) and ink refill drops piece of card. I love this method for until you have scrapped off the foam, you have no order what marbled effect you will have. I coloured the owls in with Promarkers. I hope you enjoy your creating your project , whatever form of flight, flying your choose.

Monday, 8 April 2013

Create Own Background

It's time at Make My Monday for you all to get messy, we would like you to CREATE YOUR OWN BACKGROUND. If your a regular visitor to my blog you may remember a recent card I added which had been created using Shaving Foam and Inks.  (here)  I did warn you there would be more to come. This all came about from a request at my card class. It had been a year or so, since I had used the technique. More details are on my blog as mentioned above. Plus don't forget the many videos available on You tube. 
I digress - I asked my hubbie to go to Morrison's where they are selling Shaving Foam at 26p a can, yes, it's true. He went to the self service machine with 10 cans, the shop assistant there looked at him and smiled. He turned round and said "My wife uses a lot!". I still to this day, don't know if he is winding me up or not.
N.B. UK is Shaving Foam US is Shaving Cream
Back to business - in the shaving foam, I added a few drops of Mustard Seed and Peeled Paint Refill Inks.
The background paper here is the result, I also stamped the flowers from Sheena Douglass onto a second generation sheet from the foam. Added a few stamped leaves and a couple of die cuts to embellish. The greeting stamp is from Hobby Art Ltd. Have fun, you don't have to get messy, but I find it can be great fun. 

Tuesday, 19 March 2013

#37 Make Your Mark

A slight change in our challenges are starting this week, at Addicted to Stamps and More, instead of splitting them into groups with numbers we will be continuing in numerical order from this week onward. Hence we seem to have jumped forward to #37 which is Make Your Mark - where you must use some form of marker pen, paints etc, more details on the main blog.
We are sponsored this week by 


My project all started with a can of Shaving Foam, or in the US Shaving Cream. There are many videos on You tube which show this technique. A dish with a layer of shaving foam, a few drops of colourant, I used two TH Distress Ink Re-Inkers for this card. Stir gently with a stick or handle of paintbrush. Gently lay on your card, remove the shaving foam and there you are Shaving Foam Marble technique, which can be used for a host of backgrounds. Once you start you can't finish, I have ended up with quite a number of marbled sheets, so watch out, it will be popping up over the next few weeks or so. When dried, I stamped twice with a Penny Black stamp - Garden Poems, then I coloured them with Promarkers. Go on have some fun and get messy, I did and had a fab time. Have fun with your project.